It cannot repair missing coverage
Software may fill small gaps, but unseen surfaces remain uncertain and large holes can become visible in the mesh.
Workaround
Walk the subject systematically and capture extra views around occluded areas.
Access guide
RealityCapture can be a practical way to test photogrammetry before building a larger workflow. Start with a small, well-shot image set, inspect the result, and decide whether the output meets your needs.
Start here
The simplest path is to test one focused capture set, learn where alignment succeeds, and connect the result to your next project decision.
Working method
Keep the first experiment narrow. A controlled subject and consistent images make it easier to tell whether a problem comes from the software or the capture.
Choose a static subject, remove blurred or duplicated frames, and keep substantial overlap between neighboring views. Diffuse light and visible surface texture usually help alignment.
Load the images, run alignment, and review the camera positions and sparse reconstruction. If cameras cluster incorrectly or remain unregistered, improve the source set before going further.
Generate a denser reconstruction, inspect holes and distortion, then test a simple export or measurement. The first pass is for learning, not for assuming production quality.
Core mechanisms
A useful first test separates the main jobs in a reconstruction pipeline instead of treating the result as a single mysterious button press.
Decision table
The free route is best treated as a controlled evaluation. A larger production process adds more planning, quality checks, and operational requirements around the reconstruction.
Primary purpose
Free test route
Validate whether a subject and image set can reconstruct
Full project workflow
Deliver a repeatable asset or documented survey result
Input scope
Free test route
One small, focused capture set
Full project workflow
Multiple sets, planned coverage, and documented conditions
Quality review
Free test route
Visual inspection of alignment, holes, and texture
Full project workflow
Defined acceptance checks, measurements, and revision passes
Output expectation
Free test route
A useful test model for learning or evaluation
Full project workflow
An export prepared for a downstream production tool or client
Capture planning
Free test route
Simple overlap and stable lighting are usually enough to begin
Full project workflow
Coverage, scale, control, and lighting are planned before capture
Troubleshooting
Free test route
Adjust images and rerun the experiment
Full project workflow
Track causes, settings, versions, and repeatable remedies
Best next action
Free test route
Decide whether the subject is worth a larger attempt
Full project workflow
Standardize the process for future subjects and teams
Honest boundaries
A free test can answer whether reconstruction is promising, but it cannot remove the physical limits of capture or guarantee a production-ready result.
Software may fill small gaps, but unseen surfaces remain uncertain and large holes can become visible in the mesh.
Workaround
Walk the subject systematically and capture extra views around occluded areas.
Blur, reflections, repetitive texture, moving foliage, and changing exposure can prevent reliable alignment.
Workaround
Use sharper frames, steadier movement, consistent lighting, and a subject with visual detail.
A visually convincing model is not automatically a scaled or georeferenced measurement product.
Workaround
Add appropriate scale references or control and validate measurements independently.
A first reconstruction may contain distortion, noise, holes, or texture defects that only appear during close inspection.
Workaround
Define the required output, inspect it at working scale, and repeat capture when the result falls short.
Visual checkpoint
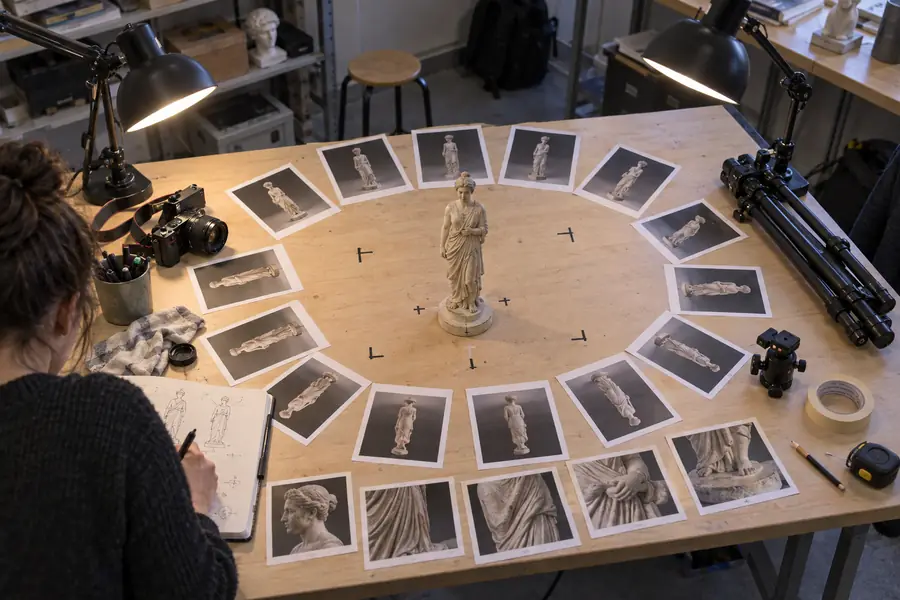 Source capture
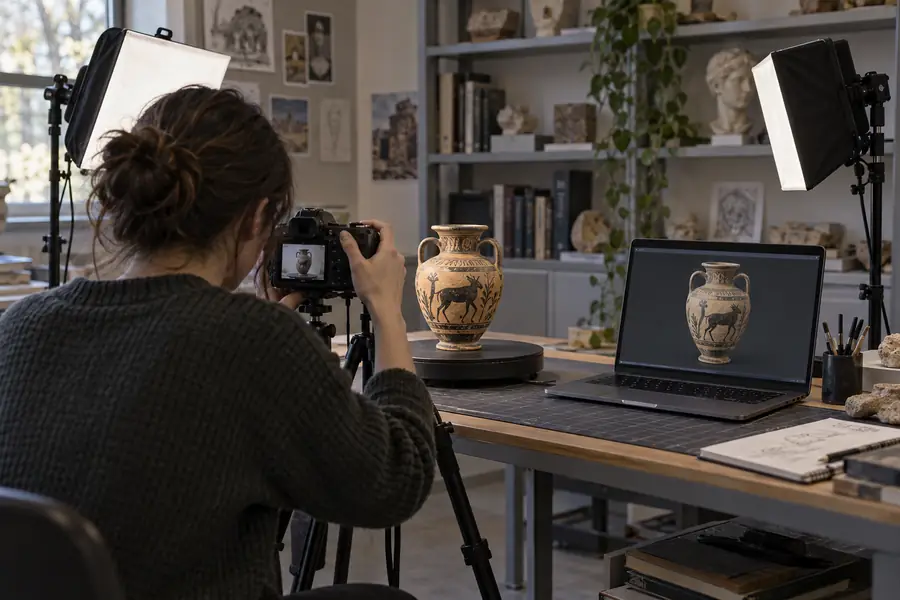 First reconstruction
Common questions
The practical answer depends on the current product terms, your intended output, and whether a small test is enough for the work you need to do.
Access terms can change, so check the current official conditions before relying on a free workflow for ongoing work. For evaluation, begin with a small project and confirm which features, exports, or usage conditions apply to your situation.
It can help you evaluate the basic reconstruction process: image preparation, alignment, surface generation, visual inspection, and a simple output review. That is enough to judge whether your subject and capture method are promising.
A first test may be possible under the current free access terms, but the exact conditions should be verified before you publish or deliver the result. Treat the initial model as an evaluation asset until you confirm the applicable usage rules.
Prepare a static subject, a consistent set of sharp overlapping photographs, and a clear goal for the test. Avoid beginning with reflective, moving, or textureless subjects because they make it harder to separate capture problems from processing problems.
Not automatically. A free test can reveal whether the subject reconstructs, while production use may require stronger capture planning, scale control, quality checks, documented exports, and confirmation of the current access terms.