Hidden or covered geometry
A top-down flight may miss façades, undersides, narrow gaps, dense vegetation, or areas blocked by equipment and structures.
Workaround
Add oblique, corridor, orbit, or ground-level images where those surfaces matter.
Aerial workflow
Reality capture drone mapping turns a planned flight and overlapping photographs into a navigable 3D record of a site. Use this guide to connect capture choices with the model you need at the end.
Use these focused guides to clarify the software, capture method, and workflow around your aerial project.
A strong mapping result depends on three connected mechanisms: coverage, geometry, and control.
Fly a repeatable grid or corridor with consistent altitude, speed, and camera direction. Overlap gives the reconstruction enough shared visual detail to connect neighboring images.
Photogrammetry software identifies common features, estimates camera positions, and builds a sparse representation before generating denser surface and texture data.
Use known coordinates, checkpoints, or a local reference system when accuracy matters. Inspect gaps, warped edges, vegetation, and thin structures before trusting measurements.
The table below separates the decisions made in the air from the decisions made during processing and review.
Primary goal
Capture phase
Collect consistent, overlapping views of the site
Processing and review
Reconstruct geometry and produce usable map outputs
Input
Capture phase
Drone photographs with stable exposure and clear detail
Processing and review
Organized image set with camera metadata where available
Coverage
Capture phase
Grid, corridor, or orbit matched to the site shape
Processing and review
Alignment checked for gaps, weak areas, and outliers
Reference
Capture phase
Ground control, checkpoints, or known coordinates if required
Processing and review
Coordinate system and scale verified against references
Surface detail
Capture phase
Altitude, lighting, overlap, and motion affect visible detail
Processing and review
Dense reconstruction and texturing convert images into surfaces
Quality check
Capture phase
Review blur, glare, shadows, and blocked viewpoints
Processing and review
Review camera alignment, holes, distortion, and edge behavior
Final use
Capture phase
Repeatable coverage supports later comparison flights
Processing and review
Export maps, point data, meshes, or measurements for the project
The useful transformation is not simply more photographs; it is a connected spatial record that can be inspected from viewpoints the aircraft never occupied.
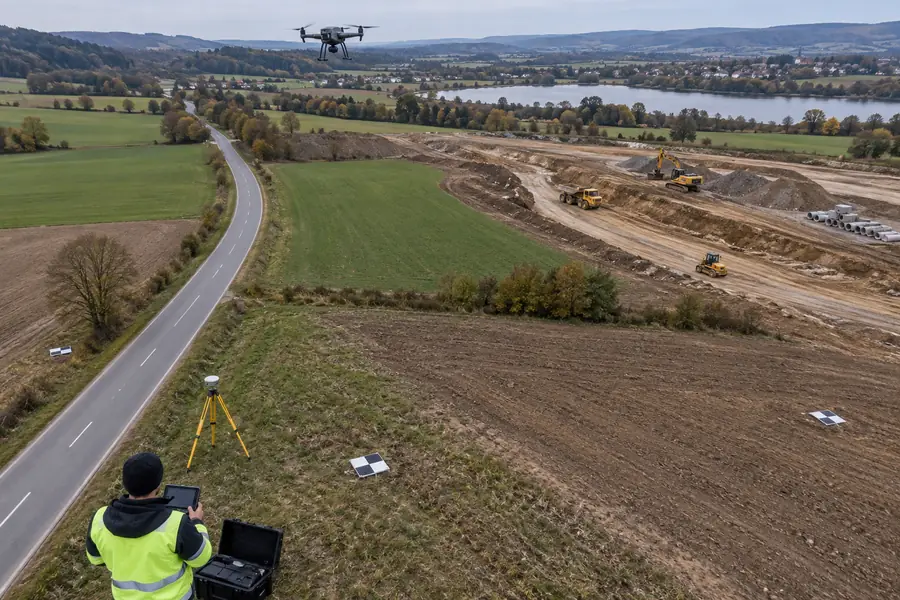 Aerial capture
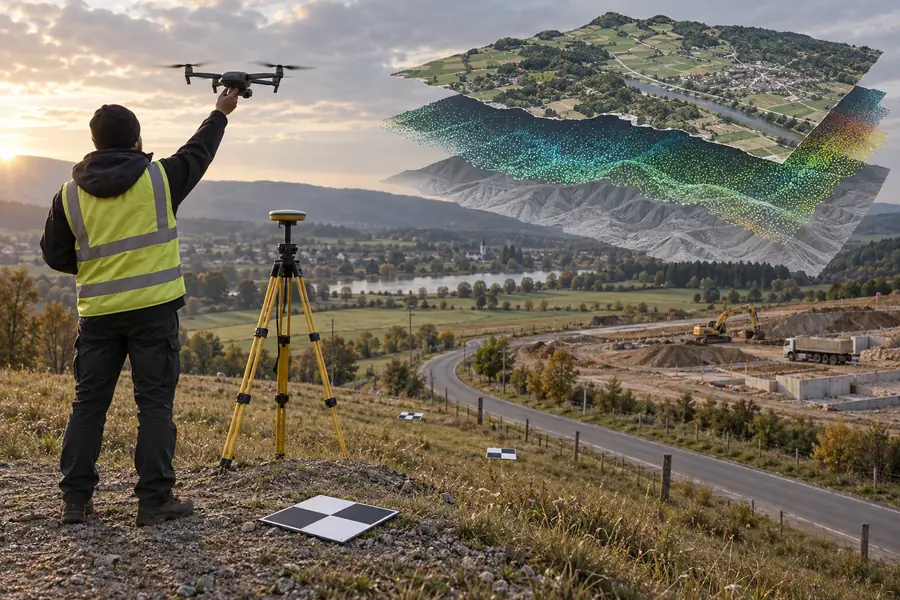 Reconstructed site model
These output dimensions describe the kinds of information a completed aerial reconstruction can contain, not a promise of accuracy for every site.
Drone imagery is powerful, but it cannot recover information that was never visible, stable, or referenced during capture.
A top-down flight may miss façades, undersides, narrow gaps, dense vegetation, or areas blocked by equipment and structures.
Workaround
Add oblique, corridor, orbit, or ground-level images where those surfaces matter.
Glossy, uniform, reflective, transparent, or shadowed surfaces can give the alignment process too little dependable visual detail.
Workaround
Choose softer consistent light, reduce glare where possible, and capture additional viewpoints with clear surface texture.
A visually convincing model is not automatically a survey-grade result. Scale, coordinates, checkpoints, camera metadata, and processing choices all affect confidence.
Workaround
Define the required tolerance first, then use suitable control and independent checks.
People, vehicles, water, foliage, and construction changes can appear in different positions across photographs and produce artifacts.
Workaround
Capture during a controlled window, remove unsuitable images, and inspect dynamic areas separately.
Answers to common questions about using aerial photographs for a reality capture workflow.
It is the process of collecting overlapping photographs from a drone and using photogrammetry to reconstruct a spatial record of a site. Depending on the imagery and workflow, the result can include map views, point data, terrain, meshes, and textured 3D context.
The drone first captures many overlapping views from a planned route. Processing software matches common features, estimates camera positions, builds scene geometry, and turns the aligned imagery into surfaces or map products that can be inspected and measured.
You need a drone and camera suited to the site, a flight plan that provides adequate overlap, enough light and visible texture, and a clear definition of the output you need. If spatial accuracy matters, plan for control points, checkpoints, or another dependable reference.
It can create a detailed model of the surfaces that the photographs see from sufficiently varied viewpoints. It cannot reliably reconstruct hidden, occluded, transparent, or poorly textured areas without additional imagery or another capture method.
No. Accuracy depends on the camera, flight design, ground sampling, image quality, coordinate reference, control, processing, and independent validation. Treat a visually clean model as a starting result until it has been checked against the requirements of the project.